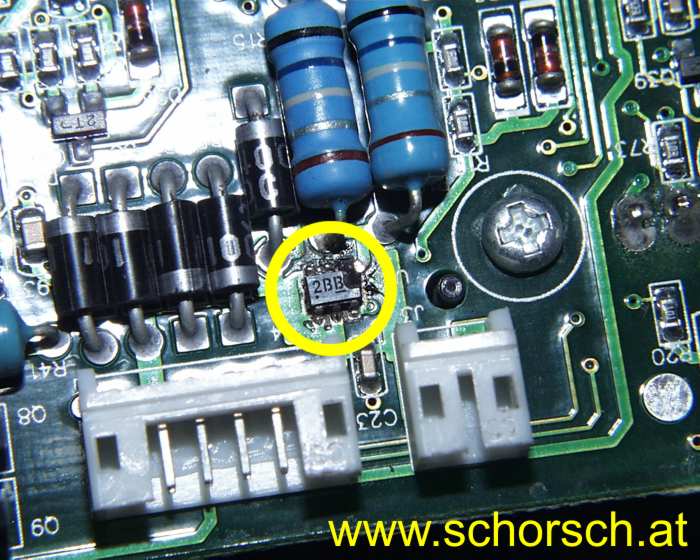
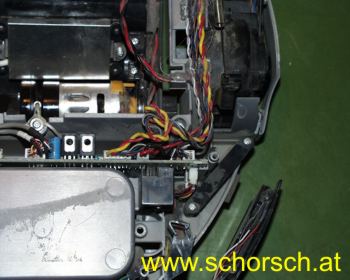
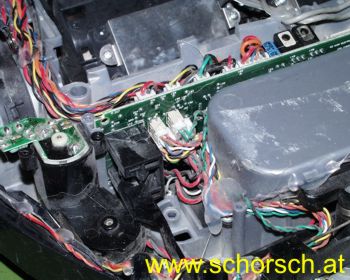
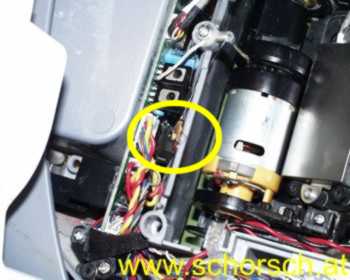
After half a year of duty, the main brush did not spin. On the main PCB one of the parts (U11) did burn down. Because of the not responding European Roomba-support (I tried is several time without success, the US send me an answer within 45 minutes, but redirected me to the European support), I tried to repair it myself. .
Gordon Plews from Diese E-Mail-Adresse ist vor Spambots geschützt! Zur Anzeige muss JavaScript eingeschaltet sein! did a great job in finding out that this part most likely is a N-MOS-FET. (http://groups.yahoo.com/group/roomba-users/files/U11-discussion.htm)
Gordon, Special thanks to you!
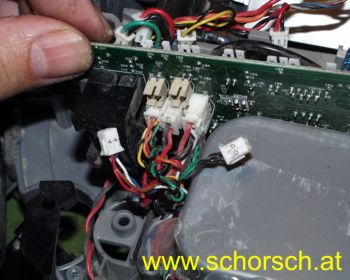
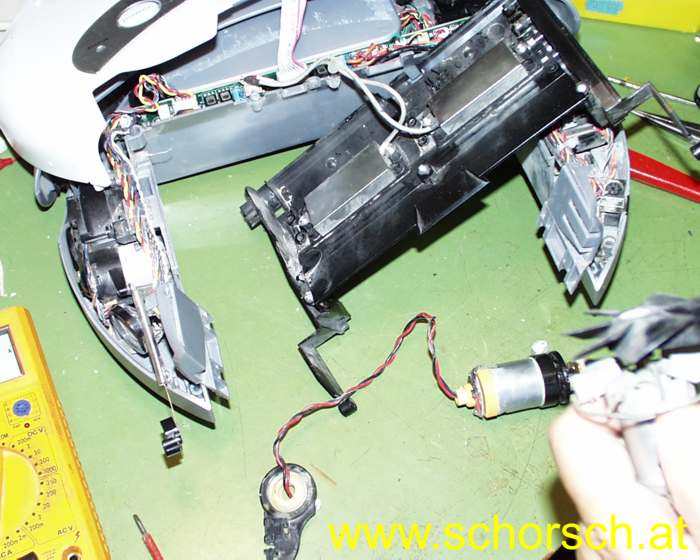
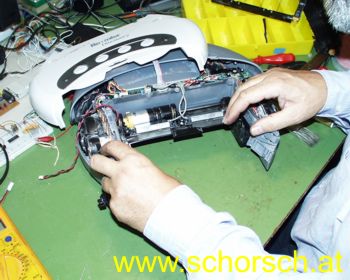
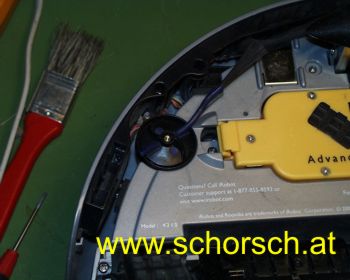
When disassembling the Roomba memorize the position of the different screws and the cables!
|
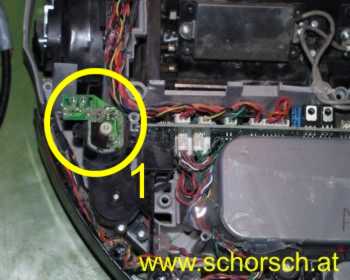
Remove the side-brush-motor (1) to remove the bumper |
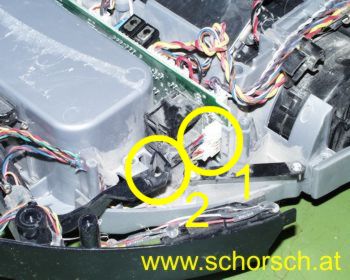
Remove the cables (1) to remove the bumper (2) |
|
|
|
|
|
|
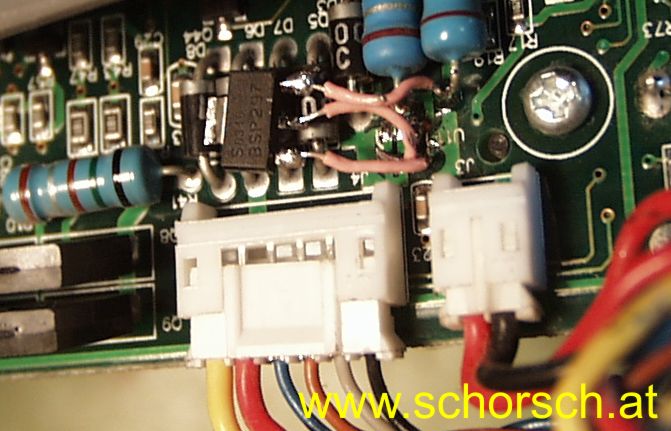
First, the dead part was removed and replaced with a N-MOS-FET of the type BSP297 in a SOT223 package. Main reason for this type was because I found it on a old PCB :-). I used the IRF 5802 to get an idea of the pin out. With some short wires I attached it to the pins.
A first test was disappointing, the brush still did not spin.
The BSP297 looked fine, but a function check showed up that it was dead to.
A stronger type in a much bigger package, a STP60NE, was used as a second try. This time the brush started spinning, but stopped after a few moment and then started again, just like when Roomba grabs a carpet fringe. So it looked like there was something wrong with the current of the brush motor or its sensing.
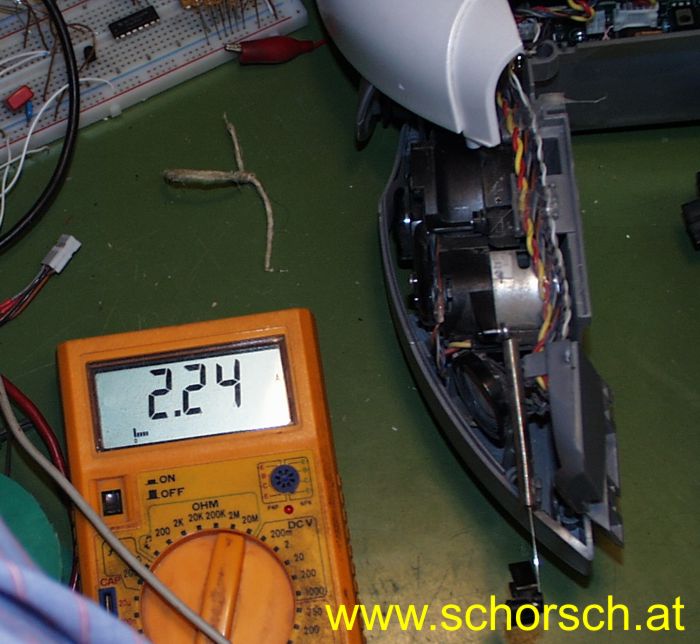
A check of the motor-current at 12V supply voltage discovered that it took about 2.2 A with a free brush wheel.
A crosscheck with a comparable motor resulted, that this one runs with 0.3 A @ 12V. Fortunately I found a motor in my personal replacement storage.
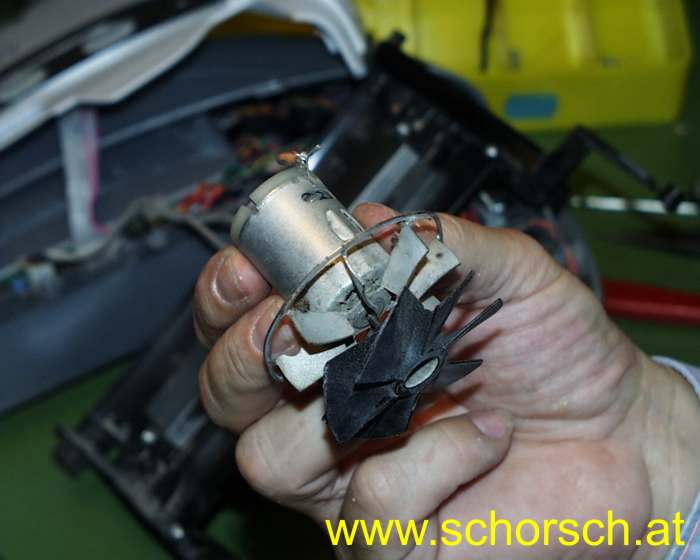
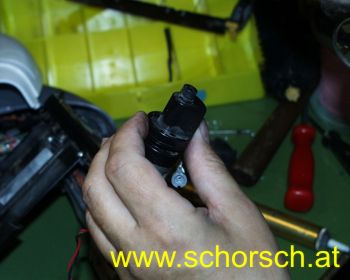
The bush motor looks like a motor for (small) RC-model-cars Type: RS-385SH-2270
The motor should be for long duration, so a RC-model-car motor would be not the best solution. Thanks to Gordon for this hint.
After replacing the motor and reassembling the main-brush-unit, the test showed up that everything works fine now.
With the new motor, the N-MOS-FET first selected, should also work fine. The STP60NE is much to strong. Every N-MOSFET able to deal with about 1 A current and more then 20 V should be fine. The RDSOn should be smaller than 0.3 Ohm.
Attention: Take good care of the polarity of the motor. If it is wrong, the spin direction is incorrect, which will result in a 'hopping' Roomba. The wind-up-mechanism will not work too and Roomba does not clean very well.
|
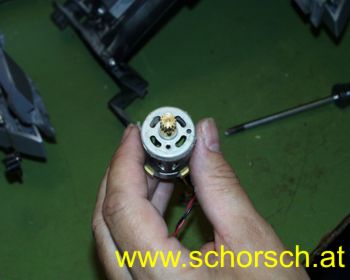
Be careful when removing the cogwheel, it is very easy to damage it. |
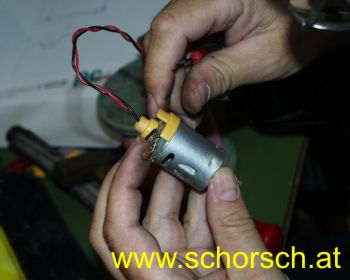
Take good care of the polarity of the motor. Its best to make a dry run and compare the result with the old motor. |
|
When the gearing it fully assembled, make a dry run by hand and test if it smooth running. |
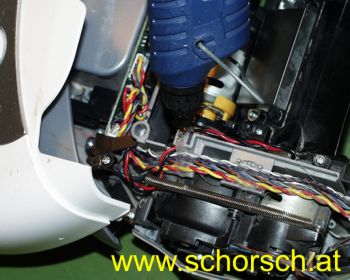
Fixing the cables with hot-melt adhesive |
|
The STP60NE N-MOSFET was fix with hot-melt adhesive, but it was not a good idea to attach to the case. It is better to attach it on the PCB, for example on the four diodes. |
Insert the mandrel in the gearing before inserting the motor-unit |
In overall. it took afternoon to repair the Roomba!
The next 'project' will be a replacement of the side-brush. It looks like I won't get a new one in Europe...
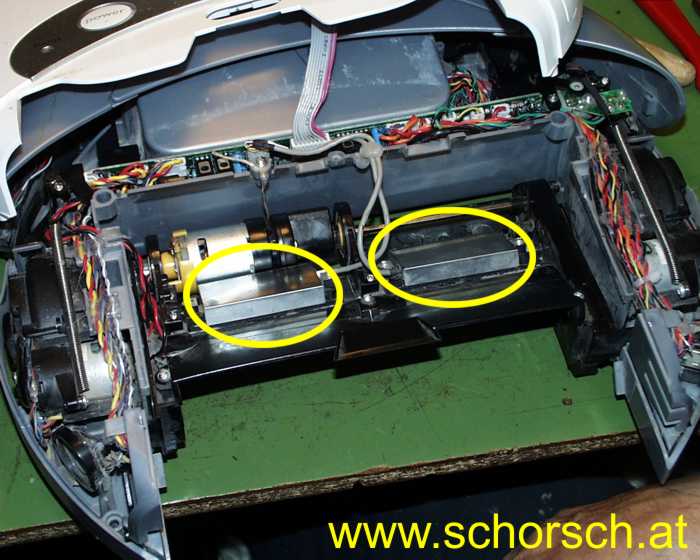
Thanks for all replys on this picture:
It is above the main brush and is a utrasonic dirt detection, based on piezoelectronic.
If there are any questions or comments, please send a email to hubert ät schorsch.at


